infrared
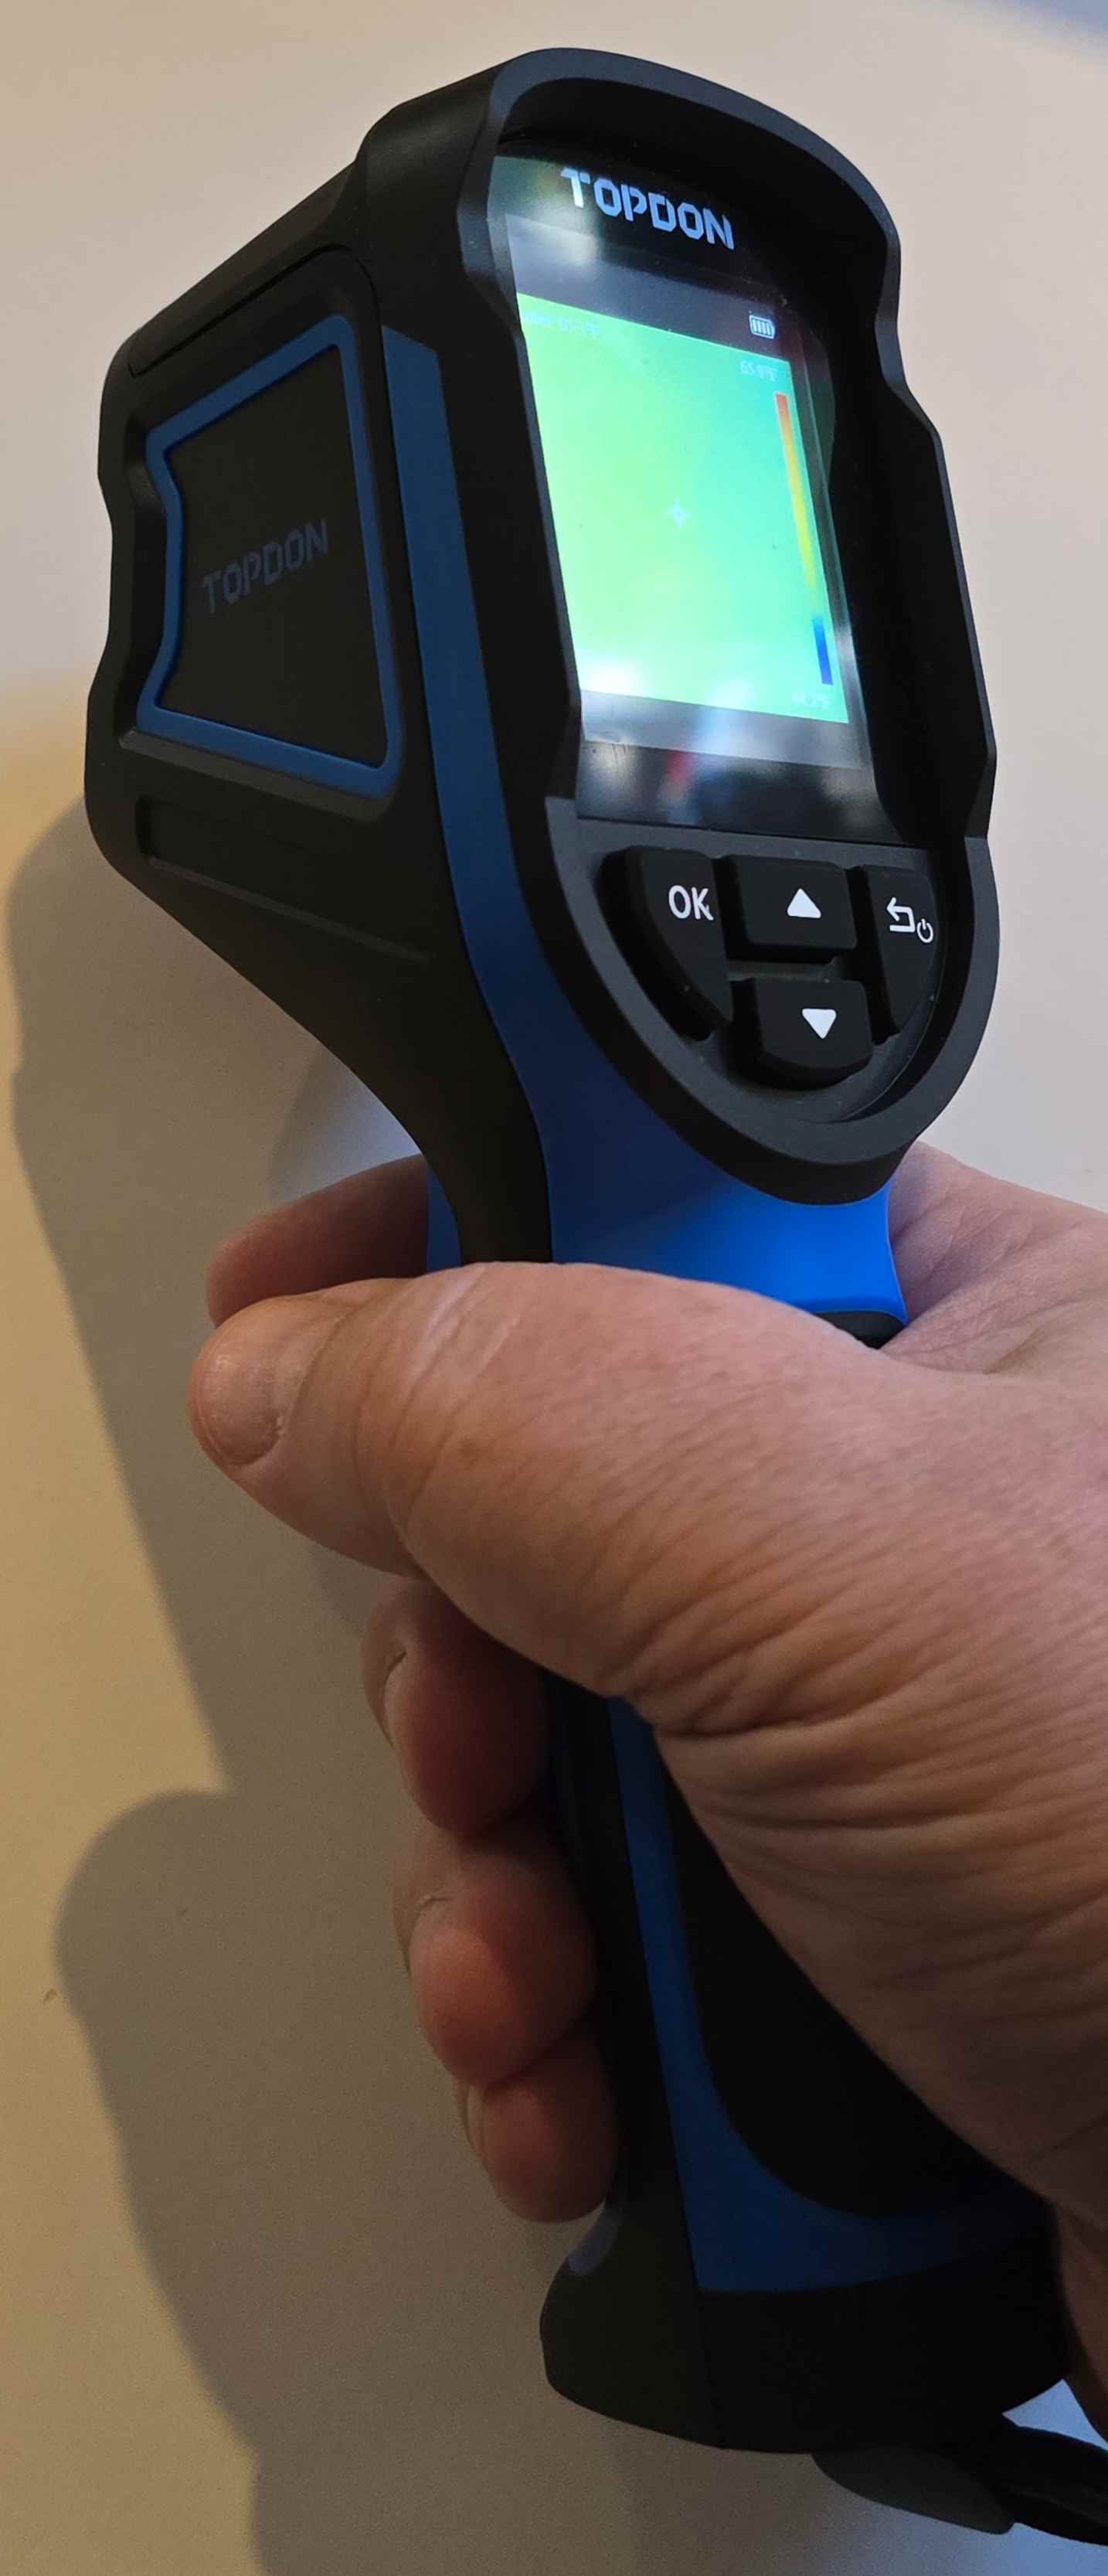
Background: the Topdon TC-004 Mini Thermal Infrared Camera

Matthias Wendel (youtube woodworker and author of
jhead) just posted a
video that showed off
the (sponsored/promoted) new Topdon TC-004 Mini1, a low-end
handheld (pistol-grip style) Thermal Infrared camera that was cheaper
than any of the attach-to-your-phone ones. The phone ones are clever
in a couple of ways:
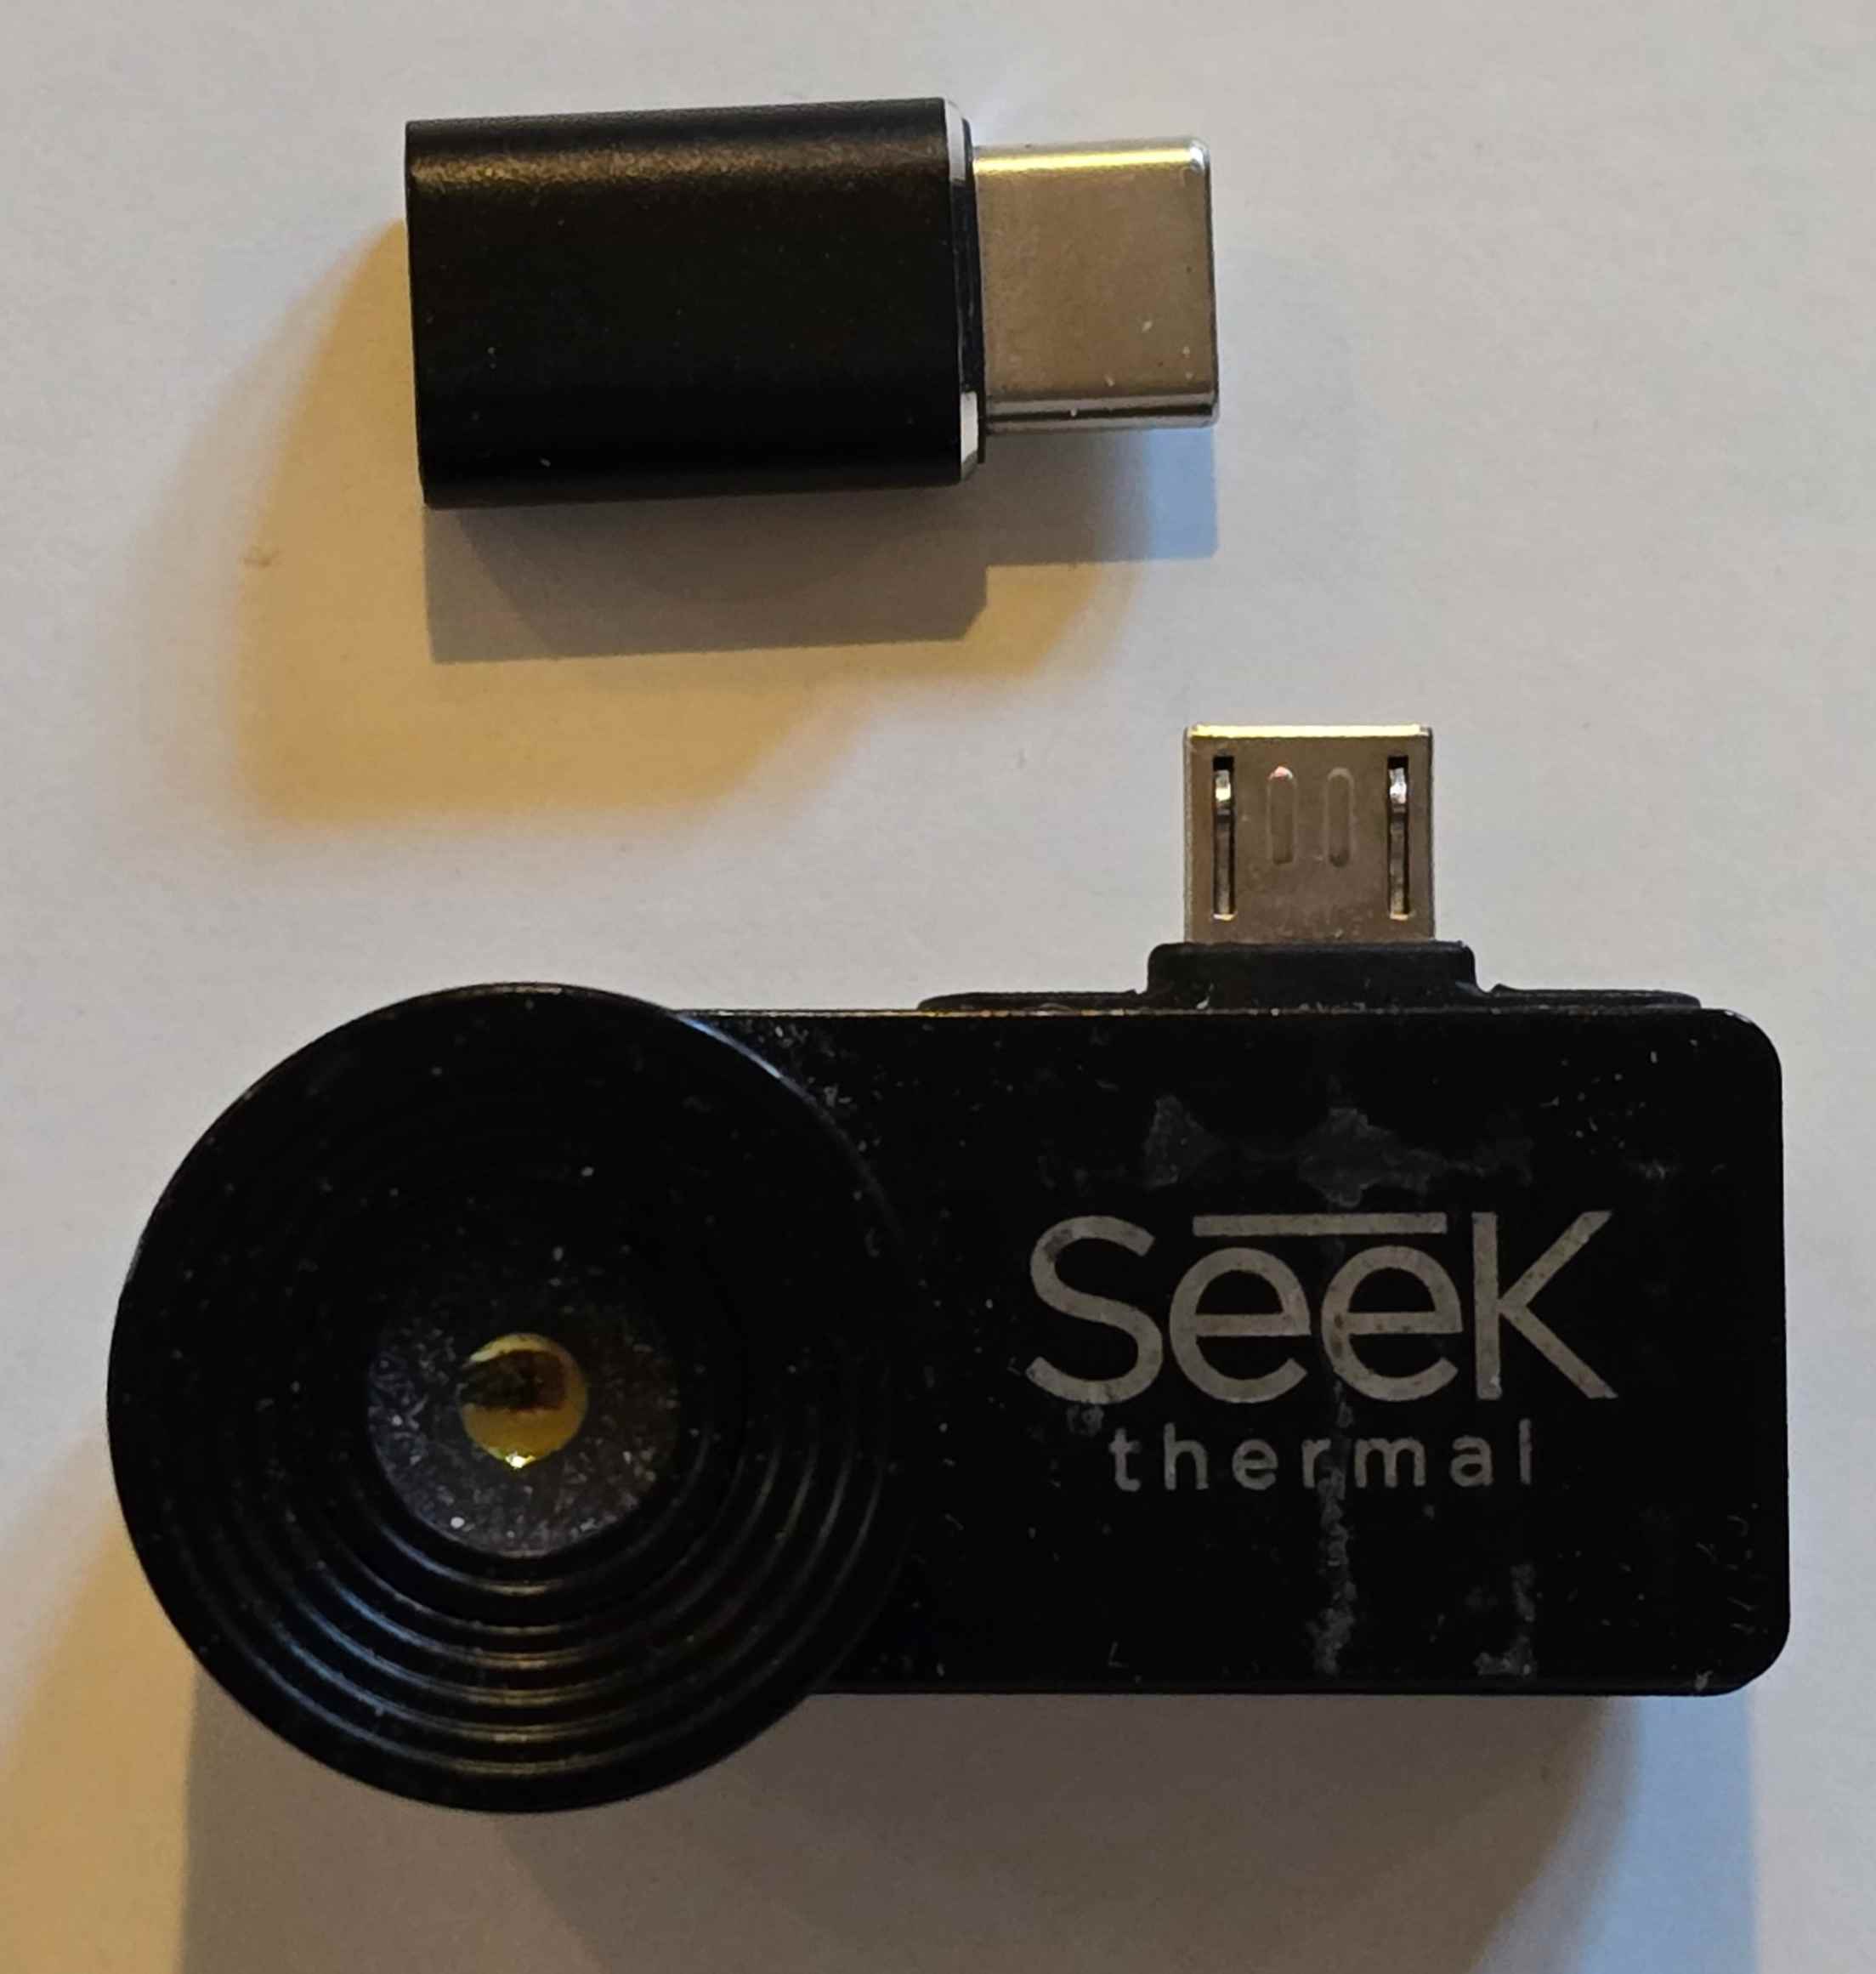
- Very Small: I keep a first-gen Seek Thermal in my pocket with my keys, it's that small - great for diagnosing overheating equipment like robot grippers
- Cheap: the UI is entirely software, on the phone you already have; the phone supplies the battery and connectivity too
- Well Integrated:- even with a proprietary app to talk to the camera
(though the Seek Thermal device does show up under
video4linuxso it's not completely proprietary) you can just point Google Photos or Syncthing or Syncopoli at the folder and it's immediately part of your existing phone-photo workflow.

Handheld ones do have their own benefits, though:
- One-handed Use: Touch-screen triggers on phones are pretty clumsy and even when you "borrow" a volume button for the trigger, it's still usually not in a convenient place for holding and seeing the unobstructed screen.
- Much Easier to "Point and Shoot": the mechanics of a pistol grip are natural and comfortable, especially for being clear about what you're pointing at.
Even though the TC-004 Mini is pretty slow to power up, it's not complex, just hold the power button for "more seconds than you think you should" - five full seconds - compared to fidgeting with getting a device attached to your phone and getting an app running, it's dramatically more "ergonomic", and a lot easier to just hand to someone else to shoot with.
Great, you got a new toy, what's the infrastructure part of this?
The problem is that this is a new device and it doesn't really have any software support (apparently even on Windows, the existing Topdon app doesn't talk to it.) It does advertise itself as a PTP2 device:
Bus 003 Device 108: ID 3474:0020 Raysentek Co.,Ltd Raysentek MTP
  bDeviceClass            6 Imaging
  bDeviceSubClass         1 Still Image Capture
  bDeviceProtocol         1 Picture Transfer Protocol (PIMA 15470)
and while gphoto2 does support PTP, it didn't recognize this device.
Turns out that while it's not generic, it's also not that complicated,
a little digging turned up a code contribution for
support from earlier
this year - with a prompt response about it getting added directly to
libgphoto2. Checking on github shows that there was a 2.5.32
release about a month
later
which is convenient for us - the immediately previous
release
was back in 2023 so this could have ended up a messier
build effort of less-tested development code.
Having a source release doesn't mean having an easy to install
package, though - usually you can take an existing package, apt-get
source and then patch the source up to the new upstream. Still, it's
worth poking around to see if any distributions have caught
up... turns out the Ubuntu packages are at 2.5.28 from 24.04 through
the literally-just-released-yesterday 25.10. Debian, on the other
hand, has a 2.5.32 package already in
Testing - it won't be in a
stable release for a while (the latest stable was only two months ago)
but that means testing itself hasn't had much time for churn or
instability.
Ok, you're running Ubuntu 24.04 though...
Now we're at the "real" reason for writing this up. gphoto2 doesn't
particularly need anything special from the kernel so this is a
great opportunity to use a container!
We don't even have to be too complicated with chasing down dependency packages, we can just build a Debian Testing container directly:
mmdebstrap --variant=apt --format=tar \
           --components=main,universe \
           testing - | podman import - debian-testing-debstrap
(Simplified for teaching purposes, see the end of the article for caching enhancements.)
podman image list should now show a
localhost/debian-testing-debstrap image (which is a useful starting
point for other "package from the future" projects.)
Create a simple Container file containing three lines:
FROM debian-testing-debstrap
RUN apt update && apt full-upgrade
RUN apt install -y gphoto2 usbutils udev
(gphoto2 because it's the whole point, usbutils just to get
lsusb for diagnostics, and udev entirely to get hwdb.bin so that
lsusb works correctly - it may help with the actual camera connect
too, not 100% sure of that though.) Then, build an image from that
Containerfile and
podman image build --file Containerfile --tag gphoto2pod:latest
Now podman image list will show a localhost/gphoto2pod. That's
all of the "construction" steps done - plug in a camera and see if
gphoto2 finds it:
podman run gphoto2pod gphoto2 --auto-detect
If it shows up, you should be able to
podman run --volume=/dev/bus/usb:/dev/bus/usb gphoto2pod \
   gphoto2 --list-files
(The --volume is needed for operations that actually connect to the
camera, which --auto-detect doesn't need to do.)
Finally, you can actually fetch the files from the camera:
mkdir ./topdonpix
podman run --volume=./topdonpix:/topdonpix \
           --volume=/dev/bus/usb:/dev/bus/usb gphoto2pod \
           bash -c 'cd topdonpix && gphoto2 --get-all-files --skip-existing'
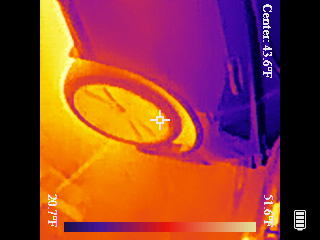
which should fill your local ./topdonpix directory with images like
this one:

Note that if you want to do software processing on these images - as
they come off the camera, they're actually sideways and have rotate
270 in the EXIF metadata - so your browser will do the right thing,
and a lot of other photo tools, but if you're feeding them to image
processing software, you may want to use jpegtran or exiftran to
do automatic lossless rotation on them (and crop off the black margins
and battery charge indicator - really, this camera is just
screenshotting itself when you ask it to store an image...)
Extras: caching
The mmdebstrap|podman import above is perfectly fine for a one-off
that works the first time. However, if you're iterating, you can save
yourself3 time and bandwidth by running apt-cacher-ng so that
you don't have to redownload the same pile of packages - 90 for the
base install, 91 for gphoto2 and dependencies. And sure, you'll just
reuse the debian-testing-debstrap image - but the configuration gets
set up by mmdebstrap in the first place, so you get those "for
free", even though the real benefit is in the other half of the
application packages.
First, actually install it:
$ sudo apt install apt-cacher-ng
The following NEW packages will be installed:
  apt-cacher-ng
Configuring apt-cacher-ng
-------------------------

Apt-Cacher NG can be configured to allow users to create HTTP tunnels, which can be used to access remote
servers that might otherwise be blocked by (for instance) a firewall filtering HTTPS connections.

This feature is usually disabled for security reasons; enable it only for trusted LAN environments.

Allow HTTP tunnels through Apt-Cacher NG? [yes/no] no
Created symlink /etc/systemd/system/multi-user.target.wants/apt-cacher-ng.service → /usr/lib/systemd/system/apt-cacher-ng.service.
That's enough to get it running and automatically (via systemd)
start properly whenever you reboot.
Next, tell mmdebstrap to use a post-setup hook to tweak the "inside"
configuration to point to the "outside" cache (these are mostly
covered in the mmdebstrap man page, this is just the specific ones
you need for this feature):
--aptopt='Acquire::https::Proxy "DIRECT"'which says "any apt sources that usehttpsdon't try to cache them, just open them directly--aptopt='Acquire::http::Proxy "http://127.0.0.1:3142"'tells theaptcommands thatmmdebstrapruns to use theapt-cacher-ngproxy. This only works for the commands on the outside, run bymmdebstrapwhile building the container--customize-hook='sed -i "s/127.0.0.1/host.containers.internal/" $1/etc/apt/apt.conf.d/99mmdebstrap'After all of the container setup is done, and we're not running any more apt commands from the outside, usesedto change the Proxy config to point to what the container thinks is the host address,host.containers.internal4 so when the commands in theContainerfilerun, they successfully fetch through the host'sapt-cacher-ng. (99mmdebstrapis where the--aptoptstrings went.)
Final complete version of the command:
mmdebstrap \
--customize-hook='sed -i "s/127.0.0.1/host.containers.internal/" $1/etc/apt/apt.conf.d/99mmdebstrap' \
--aptopt='Acquire::http::Proxy "http://127.0.0.1:3142"' \
--aptopt='Acquire::https::Proxy "DIRECT"' \
--variant=apt --format=tar \
--components=main,universe testing - \
| podman import - debian-testing-debstrap
-
Not sure how much the promotion link matters to the price, it was around $150 at the time I ordered it; Matthias' affiliate link from the original promotion; if you don't want the tracking, here's a direct ASIN-only link (or you can just search for Topdon TC-004 Mini - try not to auto-correct to "topdown" instead :-) ↩
-
PTP is a predecessor to MTP for interfacing to USB cameras, but MTP is actually widespread (even on Linux there are half a dozen implementations of MTP, both as direct tools and filesystems.) ↩
-
While it does save wall-clock time, it also reduces the amount of load you put on the upstream servers - while they are free to you, they're funded by sponsors and as a member of the open source community, you should consider feeling just a little bit obliged to do your small, easy part towards decreasing Debian's avoidable expenses. (As a professional developer, you should be interested in efficiency and performance anyway, especially if you're automating any of this.) Of course, if you're just getting started and learning this stuff - welcome! And don't fret too much about it, a one-off here and there isn't going to make a difference, and you learning is valuable to the community too - just be aware that there's more that you can do when you're ready, or if you're doing this enough that getting into good habits matters. ↩
-
Docker has a similar
host.docker.internal;.internalis reserved at the internet-draft level as a domain that ICANN shouldn't sell, so this kind of thing won't collide with real domain names.) ↩